The Real Reason Your Website Feels Slow (It's Probably Your Images)
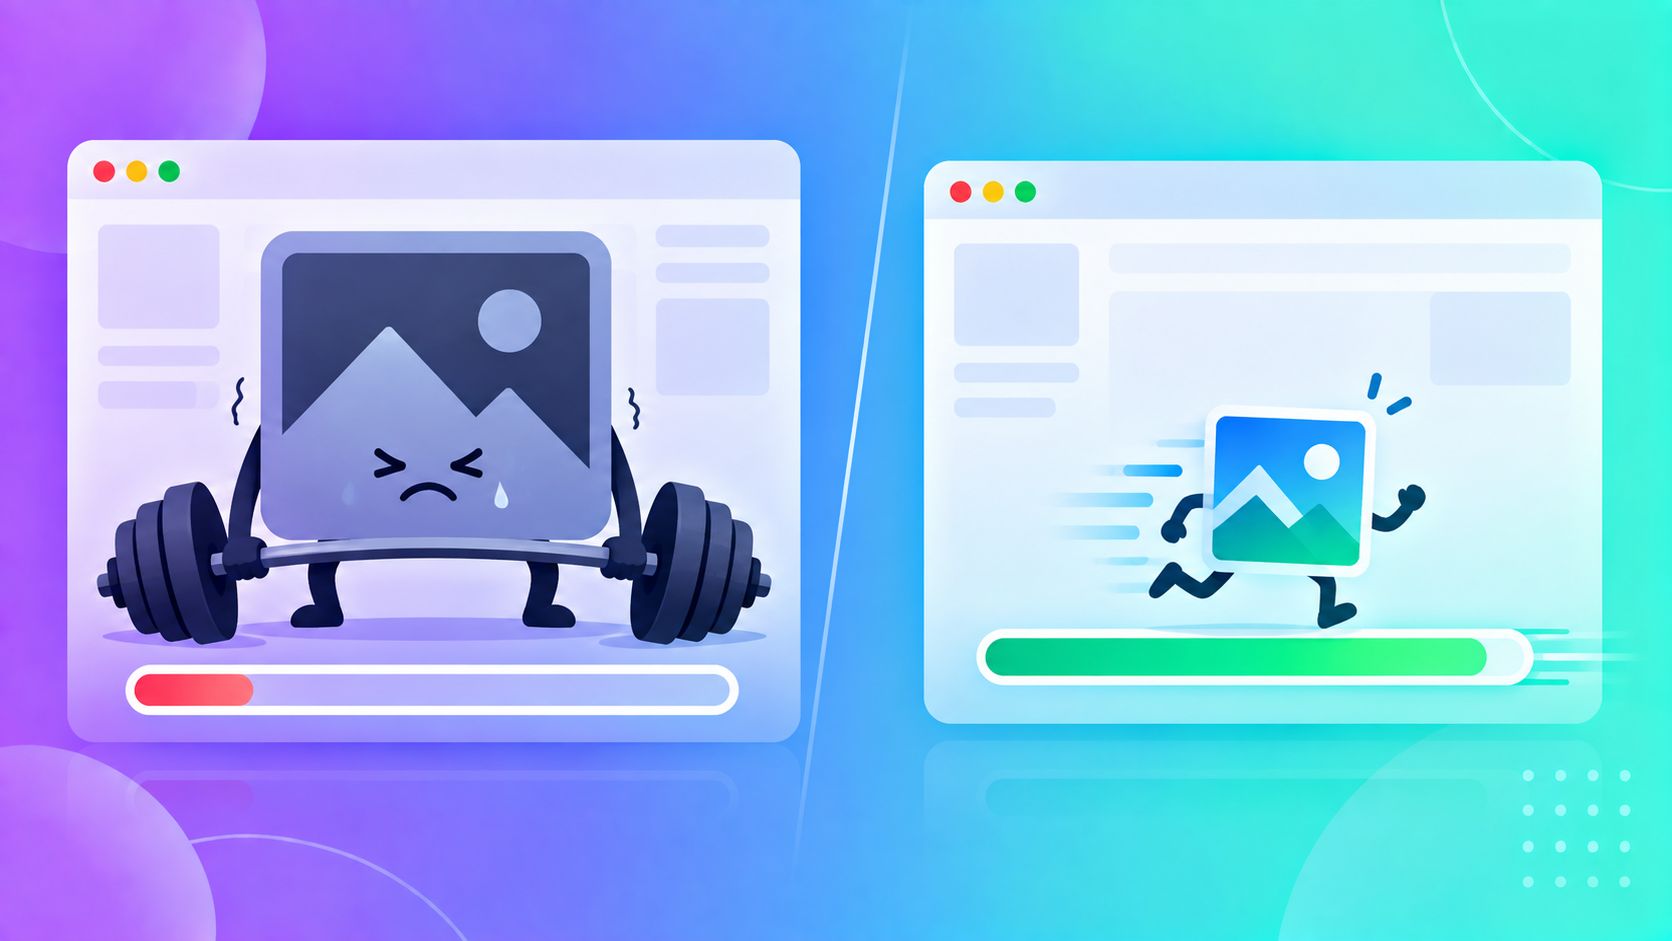
If a website feels sluggish, the instinct is usually to blame the hosting plan, the code, or "the internet." In a large number of cases, the actual cause is much simpler and much more fixable: the images on the page are far bigger — in file size — than they need to be for how they're actually displayed.
The Mismatch Nobody Notices
A photo straight from a modern phone camera is commonly 3000+ pixels wide and several megabytes in size. That same photo, on a typical website, might be displayed in a box that's 600 pixels wide. The browser still has to download the full multi-megabyte original before shrinking it down visually — meaning visitors are downloading five to ten times more data than the page actually needs, on every single image, every single visit.
Why This Matters Beyond "Feeling Slow"
Slow-loading images don't just annoy visitors — they have measurable, specific consequences:
- Higher bounce rates — a large share of visitors leave a page that takes more than a few seconds to become usable
- Search ranking impact — page loading speed is a known factor search engines weigh, particularly on mobile connections
- Wasted mobile data — visitors on limited data plans are especially likely to abandon a page loading unnecessarily large images
What to Actually Check
Rather than guessing, there are two specific numbers worth comparing for any image on your site:
- The pixel dimensions the image actually displays at on the page (its rendered width/height in the browser)
- The pixel dimensions of the image file itself that's being uploaded/served
If the file is meaningfully larger than the display size — say, 2400px wide serving a 600px-wide slot — that gap is pure waste, and it's the first thing worth fixing before touching anything else on the site.
The Two Fixes, in the Right Order
Resizing and compressing solve two different problems, and doing them in the right order matters:
- Resize first — shrink the image to (roughly) the actual pixel dimensions it will display at. This alone often cuts file size dramatically, since pixel count is the biggest single driver of file size.
- Compress second — apply file-size compression on top of the already-correctly-sized image, squeezing out additional savings without needing aggressive, quality-degrading settings.
Compressing a still-oversized image without resizing first means either accepting a still-large file, or compressing so aggressively that visible quality suffers — when the real fix was the dimensions, not the compression level.
A Format Worth Considering Too
Beyond resizing and compressing, the image format itself makes a difference — a modern format like WEBP can match JPG-level quality at a meaningfully smaller file size, which is worth factoring in if you're optimizing images across an entire website rather than just one photo.
Try It Instantly
ToolMyPic's Resize tool and Compress tool handle both steps right in your browser — resize to the exact dimensions your site needs, then compress on top, with no upload and no software to install.